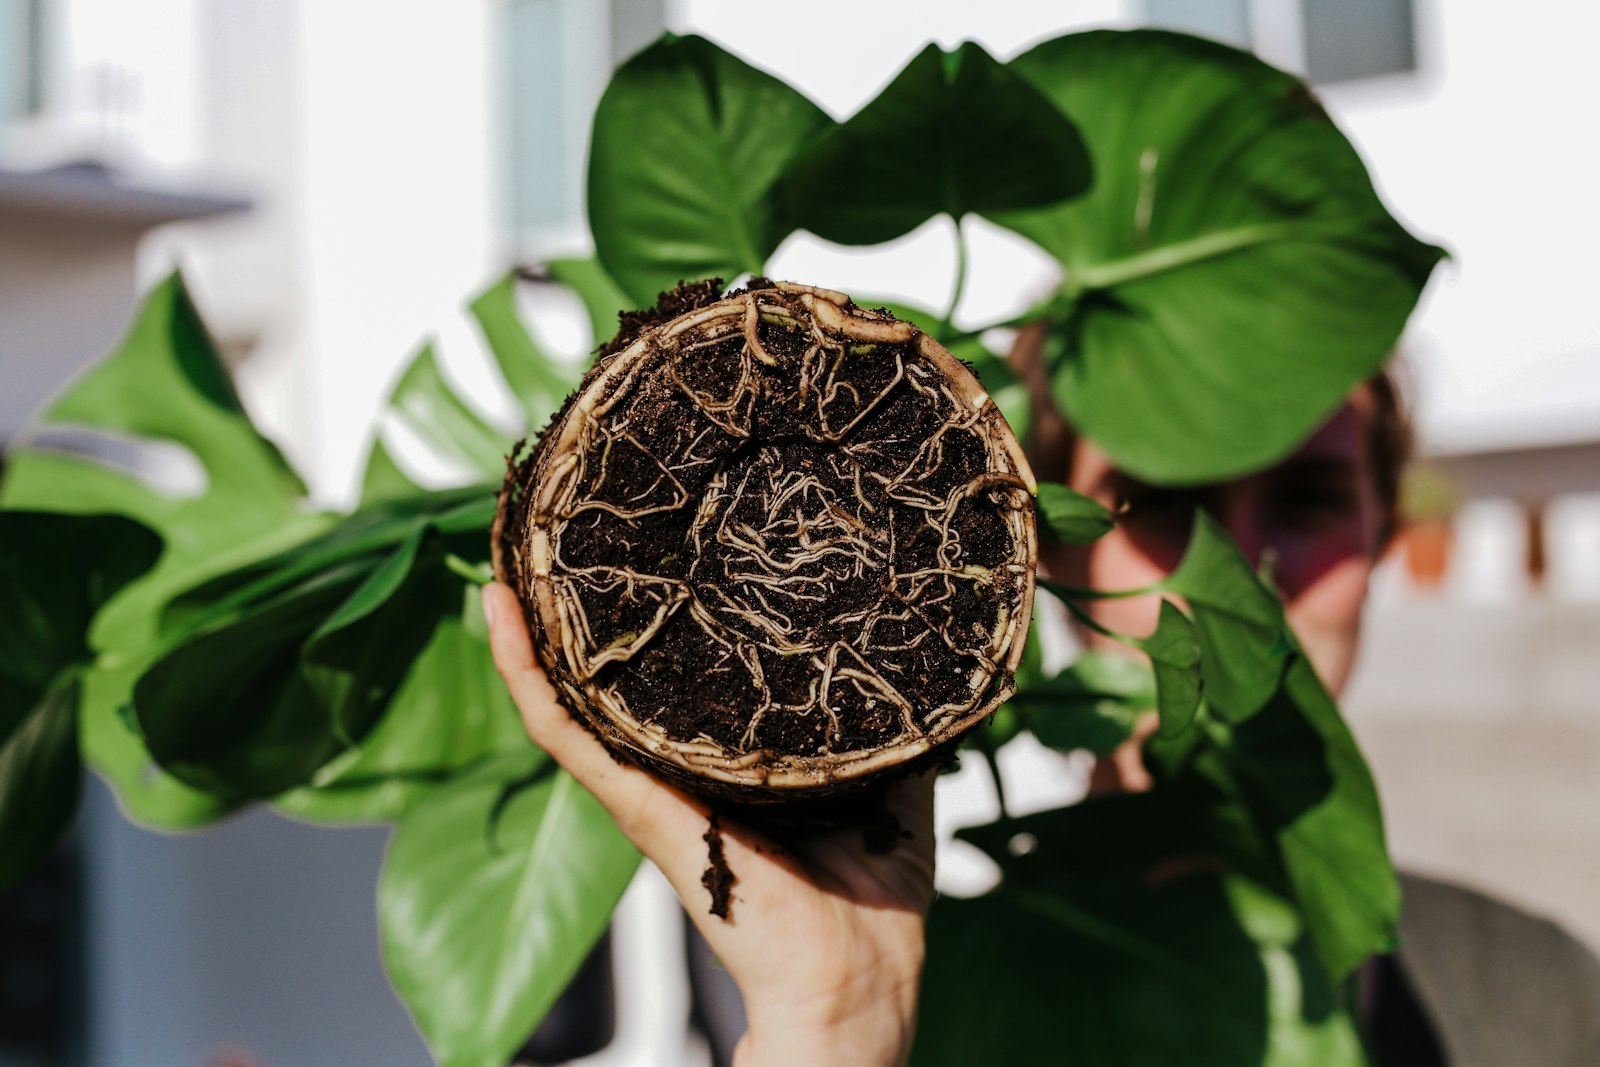
I almost threw out a $40 fiddle leaf fig over this. It was drooping, the soil was wet, so obviously it needed… less water? More water? I genuinely stood there for a minute not knowing which. Turns out the answer was neither — I needed to pull it out of the pot and look at what was going on underneath, which is the part almost nobody does until it’s too late.
If that sounds familiar — wilting even though the soil feels wet, or leaves going soft and yellow in a cluster instead of one at a time — don’t touch the watering can yet. That combination is how most people find out they have root rot, usually a week or two after the actual damage started, underground, where you couldn’t have seen it anyway.
So here’s what I’ve learned from killing a few plants this way and saving a few others: how to confirm it, what to actually do about it today, and the one habit change that stops it from coming back.
Short version, if you’re mid-panic: unpot the plant. Brown or black roots that are mushy and slide apart in your fingers instead of snapping cleanly means rot. Cut every bit of that away with a clean blade, let the remaining roots dry out for a few hours, and repot into fresh soil in a pot that actually drains. Then leave it alone for about a week. Details below.
What’s actually happening underground
Roots don’t just drink — they breathe. In soil that’s loose and airy, oxygen sits in the gaps between the particles and the roots use it more or less the way your lungs use air. Keep the soil saturated for days at a stretch and those gaps fill with water instead. The roots are, in a pretty literal sense, drowning.
A root can handle a short stretch of that. What it can’t handle is the same thing happening over and over, which is basically what you get when a plant is watered on a fixed schedule — every Sunday, say — whether or not the soil has actually dried out in between. (This was exactly my mistake with the fig, by the way. I had it on a phone reminder. Very organized, very wrong.) After a few cycles like that, the outer layer of the root starts to break down, and that damaged tissue is exactly what rot fungi are waiting for. It spreads root by root from there, and eventually works its way up into the base of the stem.
This is also why root rot gets mistaken for underwatering constantly. A plant that’s lost half its root system can’t pull up water anymore even when the soil is soaking wet, so the leaves wilt like it’s thirsty. Watering it more, which is most people’s instinct, just makes things worse.
The signs, above and below the soil
Some of this you can catch just by looking at the plant. The rest you only find out by getting your hands dirty.
Above the soil, watch for wilting or drooping even when the soil’s damp, leaves yellowing in a cluster rather than the normal one-old-leaf-at-a-time thing, growth that’s basically stalled out, or a stem that’s gone soft and dark right at the soil line. Sometimes there’s a smell too — sour, swampy, not like normal potting soil.
None of that is proof on its own, though. Plenty of those symptoms overlap with other problems. The only way to actually know is to unpot the thing and look at the roots. Healthy roots are white, tan, or light brown, and they’re firm — they snap if you try to break them, they don’t just squish. Rotted roots are brown, gray, or almost black, and they feel mushy. Pull one gently and it can slide right off in your hand like a wet noodle instead of tearing. Sometimes there’s a slimy film on top of that. If the soil itself smells sour or swampy when you dig in, that’s another tell.
[Photo: healthy root next to a rotted one, side by side — the single most useful image on this page, and it should be a real photo, not stock. Take it before you start cutting.]
Quick gut check before you go further: if the roots turn out firm and pale when you look, and it’s really only the above-soil stuff you’re seeing, you’re probably dealing with underwatering or just normal lower-leaf die-off, not rot. Worth ruling that out before you start cutting anything.
How to actually check the roots
Water the plant the day before if the soil’s bone dry — trying to pull a root ball out of packed, dry soil tends to rip healthy roots along with everything else, and that’s its own headache.
Tip the pot on its side and slide the whole root ball out. If it’s stuck (it often is), run a butter knife around the inside edge first. Then work the outer soil loose with your fingers over a tray or a trash bag, starting from the bottom. Don’t rush this part. You’re checking color and texture, not just counting how many roots you see — a couple of brown tips here and there is completely normal, but roots that are uniformly dark and mushy the whole way up are not.
Fixing it
Okay, roots confirmed rotted. Here’s what actually works, in order.
Get the plant out of the pot completely and rinse the root ball off under lukewarm running water. You want to get rid of the old wet soil so you can actually see the roots you’re dealing with, not guess at them through a layer of mud.
Then start cutting. Use scissors or pruning shears, and wipe the blade down with rubbing alcohol between cuts — I skipped this step once, early on, and ended up moving rot from one root straight onto a clean one. Cut back to tissue that’s firm and light-colored. If a root is dark the whole way to where it joins the stem, just take the whole root, don’t try to save half of it. A root that’s more than half gone isn’t coming back; it’s only going to keep feeding the problem.
Check the base of the stem too, while you’re at it. If the rot’s traveled up that far, trim it back to solid tissue the same way. I’ll be honest, a plant that’s rotted up into the stem base is a much harder save, and sometimes it’s not one — more on that below.
Now let it sit. Leave the trimmed root ball out somewhere with decent airflow for an hour or two, a few hours if you can. I used to skip this and just repot right away because I was impatient, and I don’t think it’s a coincidence that those were the plants that rotted again. Wet cut surfaces going straight into damp soil is basically an invitation.
Repot into fresh soil — never the old stuff, even if there’s plenty left — in a mix that actually drains. Regular potting soil with some perlite or orchid bark mixed in (roughly two parts soil to one part perlite works fine for most common houseplants) is enough for most things. And use a pot with a real drainage hole. If you’re attached to a pot that doesn’t have one, keep the plant in a plastic nursery pot and drop that inside the pretty one instead.
Then don’t water it for about a week. When you do start again, water less than you used to, at least for a while — it just lost part of its root system, so it can’t take up water the way it could before.
A lot of people also do a hydrogen peroxide drench on the roots (diluted, something like 1 part 3% peroxide to 3 parts water) or dip the cut ends in cinnamon before repotting. Both have some antifungal effect. I use the cinnamon sometimes, mostly out of habit at this point. Neither one is the actual fix, though — the fix is the cutting, the drying, and the better drainage going forward. Treat these as a bonus, not the plan.
Will it actually survive?
Depends how bad it was when you caught it. Lose 20–30% of the roots and most plants bounce back within a few weeks, sometimes dropping a leaf or two first while they adjust to running on less. Lose more than half, and it’s a longer road — and if the rot made it into the main stem or crown, I won’t pretend the odds are great. If there’s still healthy stem above the damage at that point, I’d honestly rather take a cutting and start a new plant than sink more time into the original.
One thing worth knowing going in: you won’t see the recovery from the top first. New growth up top comes later. What you’re actually watching for is new white roots forming down where you can’t see them, which takes patience I don’t always have, if I’m honest.
What actually stops it from happening again
This is the part people skip, and it’s the part that matters most.
Water by checking the soil, not by checking the calendar. A finger stuck an inch or two into the soil tells you more than any schedule will — if it’s still damp, wait, even if it’s “watering day.” Use pots with drainage holes, full stop; if you love a pot that doesn’t have one, use it as a cover pot over a plain nursery pot instead. Empty the saucer after you water, too — water sitting under the pot keeps the bottom of the soil wet long after the top has dried, and that’s exactly where rot tends to start. And match the soil to the plant: a snake plant or succulent in a dense, moisture-holding mix is basically set up to fail, so give those extra perlite or a proper cactus blend instead of your regular potting soil. Pot size matters more than people think, too — a small plant lost in a big pot means a lot of soil holding water with no roots around yet to drink it up.
None of this is complicated. It’s just the boring stuff that’s easy to let slide, right up until you’re standing over a wilting plant wondering why watering it more isn’t helping.
A few things people ask
Can it spread to my other plants? Not through the air, no. But it can travel through a shared saucer several pots are sitting in, or through soil and tools you reuse without cleaning. Give a rotting plant its own tray for a while and wipe your scissors down between plants.
Does cinnamon really do anything? A little. It’s a mild antifungal and it doesn’t hurt to dust it on cut roots. But it’s a nice-to-have, not the fix — it won’t save a plant on its own if you put it right back into the same soggy soil that caused the problem.
How fast does this actually kill a plant? Varies a lot, but I’ve seen it go from first wilting to total collapse in as little as two weeks, and I’ve seen it drag out over a couple of months. By the time you can see it from the top, it’s usually already been going on for a while underground — which is really the whole point of this page. Don’t wait and see. Check the roots.